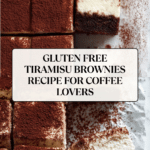
Gluten Free Tiramisu Brownies Recipe
Introduction
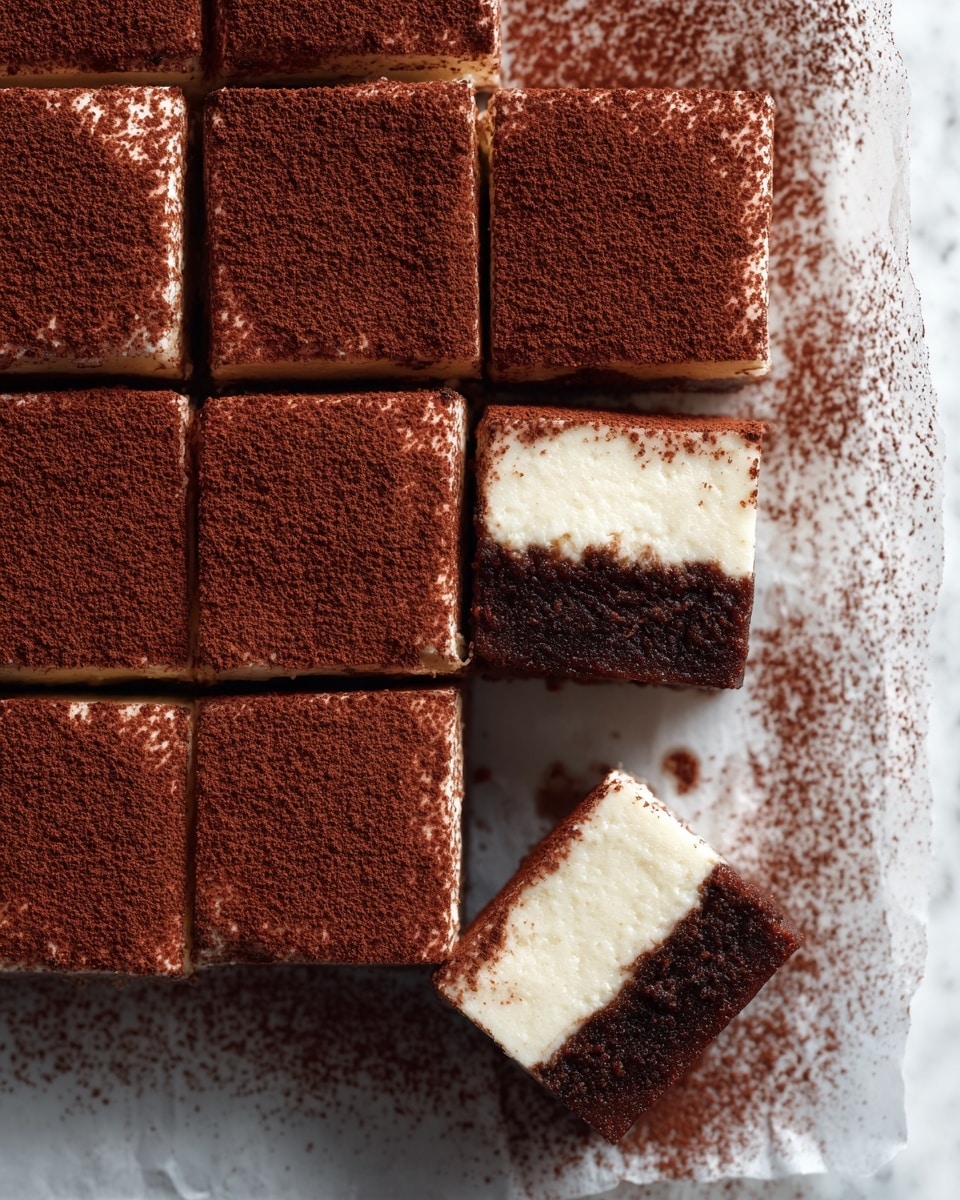
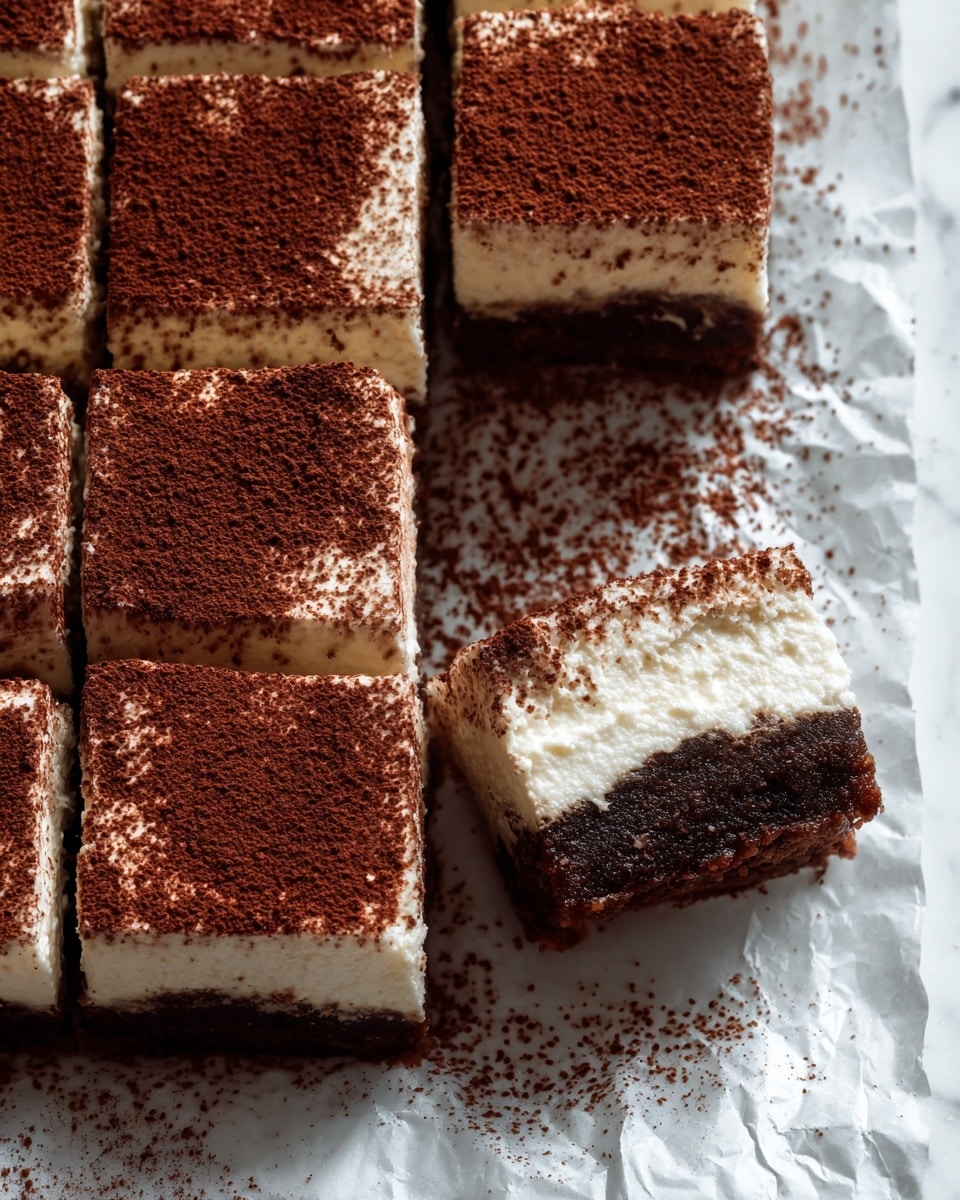
These Gluten Free Tiramisu Brownies combine the rich, chocolatey goodness of classic brownies with the creamy, coffee-infused delight of tiramisu. Perfect for anyone craving a decadent dessert without gluten, they offer a luscious twist on two beloved treats.
Ingredients
- 1/2 cup gluten free all-purpose flour
- 1/3 cup cocoa powder
- 1 tablespoon espresso powder
- 1 cup sugar
- 2 large eggs
- 1/2 cup melted butter
- 1 teaspoon vanilla extract
- 1 cup mascarpone cheese
- 3/4 cup heavy whipping cream
- 1/3 cup powdered sugar
- 1/4 cup brewed espresso or strong coffee, cooled
- Unsweetened cocoa powder (for dusting)
Instructions
- Step 1: Preheat your oven to 350°F (175°C) and line an 8×8 inch baking pan with parchment paper.
- Step 2: In a bowl, mix the melted butter, sugar, eggs, and vanilla extract until smooth and fully combined.
- Step 3: In a separate bowl, whisk together the gluten free flour, cocoa powder, and espresso powder.
- Step 4: Gradually combine the wet ingredients with the dry ingredients until a thick, even batter forms.
- Step 5: Pour the batter into the prepared pan and smooth the top with a spatula. Bake for 20 to 25 minutes, then let the brownies cool completely.
- Step 6: In a clean bowl, beat the mascarpone cheese with powdered sugar until creamy and smooth.
- Step 7: In another bowl, whip the heavy cream to stiff peaks, then gently fold it into the mascarpone mixture for a light texture.
- Step 8: Add the cooled brewed espresso to the cream mixture and gently fold to combine evenly.
- Step 9: Spread the tiramisu cream evenly over the cooled brownies. Chill in the refrigerator for at least 2 hours to set.
- Step 10: Before serving, dust the top with unsweetened cocoa powder. Slice and enjoy chilled.
Tips & Variations
- Use a high-quality gluten free flour blend that includes xanthan gum for better texture.
- For extra coffee flavor, brush the cooled brownies lightly with espresso before adding the tiramisu cream.
- Replace mascarpone with cream cheese for a tangier variation, though the texture will be slightly different.
- Add chocolate chips to the brownie batter for a fudgier and richer bite.
Storage
Store the brownies covered in the refrigerator for up to 3 days. Because of the tiramisu cream topping, keeping them chilled ensures the cream stays firm and fresh. When ready to serve, take them out of the fridge a few minutes beforehand for the best flavor and texture.
How to Serve
Serve this delicious recipe with your favorite sides.
FAQs
Can I make these brownies dairy-free?
While the recipe includes mascarpone and heavy cream, you can substitute with dairy-free cream cheese and coconut cream to make a dairy-free version. The texture and flavor will vary slightly but still be delicious.
How do I know when the brownies are done baking?
Insert a toothpick into the center of the brownies after 20 minutes; it should come out with moist crumbs but not wet batter. This ensures they remain fudgy and not overbaked.
PrintGluten Free Tiramisu Brownies Recipe
These Gluten Free Tiramisu Brownies combine the rich, fudgy texture of classic brownies with the luxurious creaminess of traditional tiramisu topping. Perfect for those who crave a decadent dessert without gluten, this recipe features a coffee-infused cocoa base topped with a mascarpone and whipped cream layer, dusted with cocoa powder.
- Prep Time: 20 minutes
- Cook Time: 25 minutes
- Total Time: 2 hours 45 minutes
- Yield: 16 brownies 1x
- Category: Dessert
- Method: Baking
- Cuisine: Italian-American
- Diet: Gluten Free
Ingredients
Brownie Base
- 1/2 cup gluten free all-purpose flour
- 1/3 cup cocoa powder
- 1 tablespoon espresso powder
- 1 cup sugar
- 2 large eggs
- 1/2 cup melted butter
- 1 teaspoon vanilla extract
Tiramisu Cream
- 1 cup mascarpone cheese
- 3/4 cup heavy whipping cream
- 1/3 cup powdered sugar
- 1/4 cup brewed espresso or strong coffee, cooled
- Unsweetened cocoa powder for dusting
Instructions
- Preheat and Prepare Pan: Preheat your oven to 350°F (175°C) and line an 8×8 inch baking pan with parchment paper to prevent sticking and ensure easy removal of the brownies.
- Mix Wet Ingredients: In a mixing bowl, combine the melted butter, sugar, eggs, and vanilla extract. Beat until smooth and well incorporated to create the base for your brownie batter.
- Whisk Dry Ingredients: In a separate bowl, whisk together the gluten free flour, cocoa powder, and espresso powder. This ensures even distribution of dry ingredients and adds the coffee flavor to the brownies.
- Combine Wet and Dry: Gradually fold the dry ingredients into the wet ingredients to form a thick, smooth batter without overmixing to maintain the brownies’ tender texture.
- Bake the Brownies: Pour the batter into the prepared baking pan and smooth the top with a spatula. Bake for 20–25 minutes until a toothpick inserted in the center comes out with moist crumbs. Let the brownies cool completely before adding the tiramisu cream.
- Prepare Mascarpone Mixture: In a clean bowl, beat the mascarpone cheese with powdered sugar and vanilla extract until creamy and smooth, setting the stage for a rich topping.
- Whip the Cream: In another bowl, whip the heavy whipping cream until stiff peaks form. This will add lightness and volume to the tiramisu cream.
- Fold Cream into Mascarpone: Gently fold the whipped cream into the mascarpone mixture to maintain its fluffiness and combine thoroughly without deflating the mixture.
- Add Coffee Flavor: Slowly fold in the cooled brewed espresso or strong coffee, evenly distributing the tiramisu flavor throughout the cream mixture.
- Assemble and Chill: Spread the tiramisu cream evenly over the cooled brownies. Cover and refrigerate for at least 2 hours to allow the flavors to meld and the topping to set perfectly.
- Serve: Dust the chilled brownies with unsweetened cocoa powder, slice into squares, and serve cold for a delicious combination of rich chocolate and creamy tiramisu flavors.
Notes
- Ensure brownies are completely cooled before adding the tiramisu cream to prevent melting the topping.
- For stronger coffee flavor, use espresso instead of brewed coffee.
- Gluten free flour blends vary; check for xanthan gum presence or add 1/4 teaspoon if your blend doesn’t contain it for better texture.
- These brownies are best served chilled but can be stored covered in the refrigerator for up to 3 days.
- Substitute mascarpone with cream cheese for a more tangy version if desired.
Keywords: Gluten Free, Tiramisu, Brownies, Coffee Dessert, Mascarpone, Decadent, Easy Dessert