Brownie Refrigerator Cake Recipe
Introduction
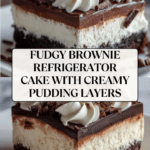
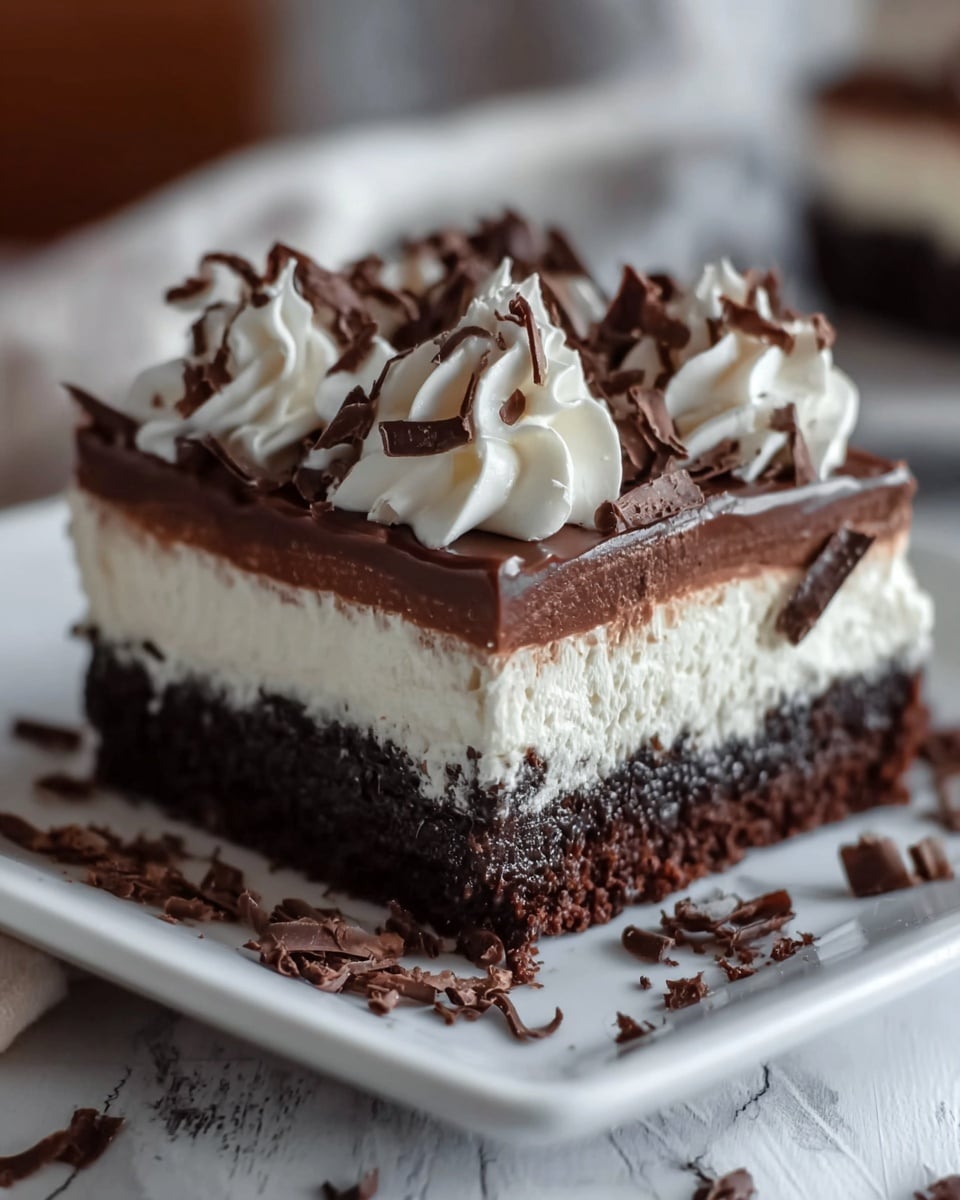
Brownie Refrigerator Cake is a no-bake layered dessert that combines rich brownies, creamy cheese, and luscious pudding for a decadent treat. This easy-to-make cake is perfect for gatherings or a simple indulgence on warm days.
Ingredients
- 1 brownie mix (9×13 pan size)
- 1 additional extra-large egg
- 1 package cream cheese (8 oz), softened
- 1 cup powdered sugar
- 2 containers whipped topping (8 oz each)
- 1 package chocolate instant pudding (3 oz)
- 1 package vanilla instant pudding (3 oz)
- 3 1/2 cups milk
- 1 Hershey bar (for shavings) or chocolate syrup
Instructions
- Step 1: Prepare the brownies according to package directions, adding the extra egg for a fudgier texture. Allow the brownies to cool completely in the pan.
- Step 2: In a medium bowl, mix the softened cream cheese, powdered sugar, and one container of whipped topping until smooth. Spread this cream cheese mixture evenly over the cooled brownies.
- Step 3: In a separate bowl, whisk together the chocolate and vanilla instant pudding mixes with the milk until thickened. Spread the pudding layer evenly over the cream cheese layer.
- Step 4: Spread the remaining whipped topping smoothly over the pudding layer to create the final topping.
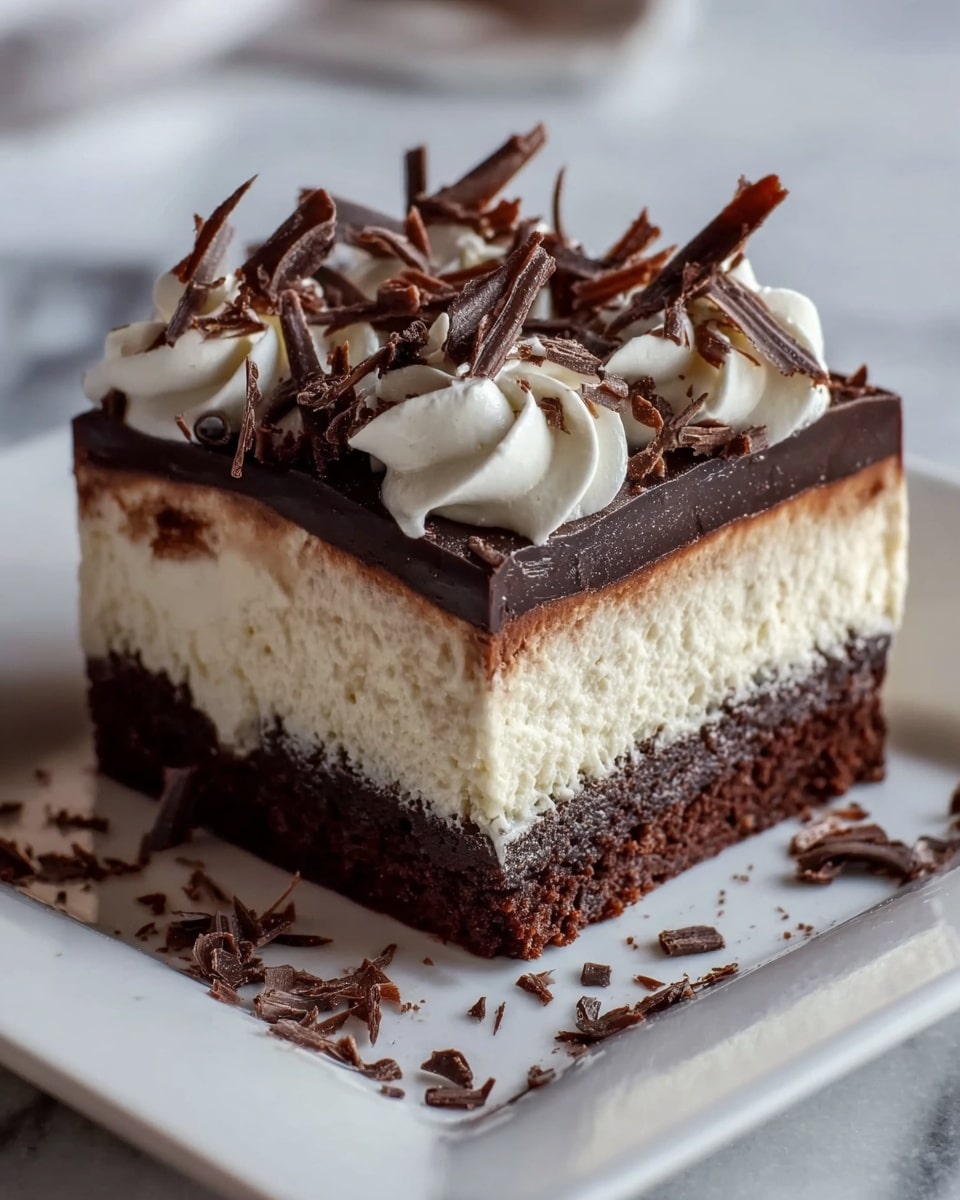
- Step 5: Garnish the top with chocolate shavings made from the Hershey bar or drizzle with chocolate syrup. Refrigerate the cake for at least 2 hours before serving to allow the layers to set.
Tips & Variations
- For a richer flavor, substitute milk with half-and-half or use homemade brownies instead of a mix.
- Try adding crushed nuts or fresh berries between layers for extra texture and freshness.
- Use cookie crumbs instead of brownie for a different base texture.
Storage
Store the brownie refrigerator cake covered in the refrigerator for up to 3 days. Keep it chilled until ready to serve, and if needed, allow it to sit at room temperature for 10–15 minutes before serving for easier slicing.
How to Serve
Serve this delicious recipe with your favorite sides.
FAQs
Can I make this dessert in advance?
Yes, this dessert is perfect to prepare a day ahead. Refrigerating it allows the layers to meld together and improve flavor.
Can I use different pudding flavors?
Absolutely! Customize the pudding layer with your favorite flavors to suit your taste or occasion.
PrintBrownie Refrigerator Cake Recipe

This Brownie Refrigerator Cake combines rich, fudgy brownies with creamy layers of sweetened cream cheese, luscious pudding, and whipped topping, creating a delightful no-bake chilled dessert perfect for gatherings or a special treat.
- Prep Time: 20 minutes
- Cook Time: 30 minutes
- Total Time: 2 hours 50 minutes
- Yield: 12 servings 1x
- Category: Dessert
- Method: Baking
- Cuisine: American
Ingredients
Brownie Layer
- 1 brownie mix (9×13 pan size)
- 1 extra-large egg (in addition to package instructions)
Cream Cheese Layer
- 1 package cream cheese (8 oz), softened
- 1 cup powdered sugar
- 1 container whipped topping (8 oz)
Pudding Layer
- 1 package chocolate instant pudding mix (3 oz)
- 1 package vanilla instant pudding mix (3 oz)
- 3 1/2 cups milk
Topping and Garnish
- 1 container whipped topping (8 oz)
- 1 Hershey bar (for chocolate shavings) or chocolate syrup
Instructions
- Prepare the brownies: Follow the brownie mix package directions, but add one extra-large egg beyond what the package calls for to enhance fudginess. Bake in a 9×13 pan and allow to cool completely to room temperature.
- Make the cream cheese layer: In a mixing bowl, beat the softened cream cheese until smooth. Gradually add the powdered sugar and one container of whipped topping, folding gently to combine until creamy. Spread this mixture evenly over the cooled brownies to form the first creamy layer.
- Prepare the pudding layer: In a separate bowl, whisk together both the chocolate and vanilla instant pudding mixes with 3 1/2 cups of milk until the mixture thickens, about 2 minutes. Spread this pudding layer evenly over the cream cheese layer.
- Add the final topping: Spread the remaining container of whipped topping evenly over the pudding layer, smoothing the surface carefully.
- Garnish and chill: Decorate the top with chocolate shavings made from a Hershey bar or drizzle chocolate syrup as desired. Refrigerate the entire cake for at least 2 hours before serving to allow layers to set beautifully.
Notes
- Adding an extra egg to the brownie mix helps create a fudgier texture.
- Ensure the brownies are completely cooled before adding cream cheese to prevent melting.
- Use cold milk for the pudding mix to achieve the best consistency.
- Refrigerate for a minimum of 2 hours to let the flavors meld and the layers set firmly.
- Can be garnished with nuts or other toppings as per preference.
Keywords: brownie refrigerator cake, no bake dessert, layered pudding cake, chocolate cream cheese dessert